08. How To Build a Custom Image for Your Portenta X8
This tutorial teaches you how to compile a custom image for your Portenta X8.
Overview
In this tutorial, you will learn how to build an image for the Portenta X8 with the source code provided at our GitHub repository for lmp-manifest. Building your image locally can help debug several aspects of the system, such as the bootloader or kernel support.
Images built locally cannot register with FoundriesFactory and will not be OTA compatible, but this is a good alternative for those who do not have a FoundriesFactory subscription.
This tutorial targets customers that are not FoundriesFactory subscribers, but still want to extend the functionality of the Arduino pre-built sources by building their images. For FoundriesFactory subscribers, we strongly suggest making use of your Factory's continuous integration system for image creation.
Goals
- Learn how to build a "builder" Docker image
- Learn how to get the required files
- Learn how to configure the build settings
- Learn how to build the image
- Learn how to save the needed files for flashing
Required Hardware and Software
- Arduino Portenta X8
- Docker Engine
- ~60GB available space on your machine's drive
Instructions
Docker
Build the Docker Image
You will create a Docker image that has the dependencies needed to build your device image. To do so, you will need to clone our lmp-manifest repository. The following steps will guide you through the process:
First, clone the lmp-manifest repository with the following command:
1git clone https://github.com/arduino/lmp-manifest.git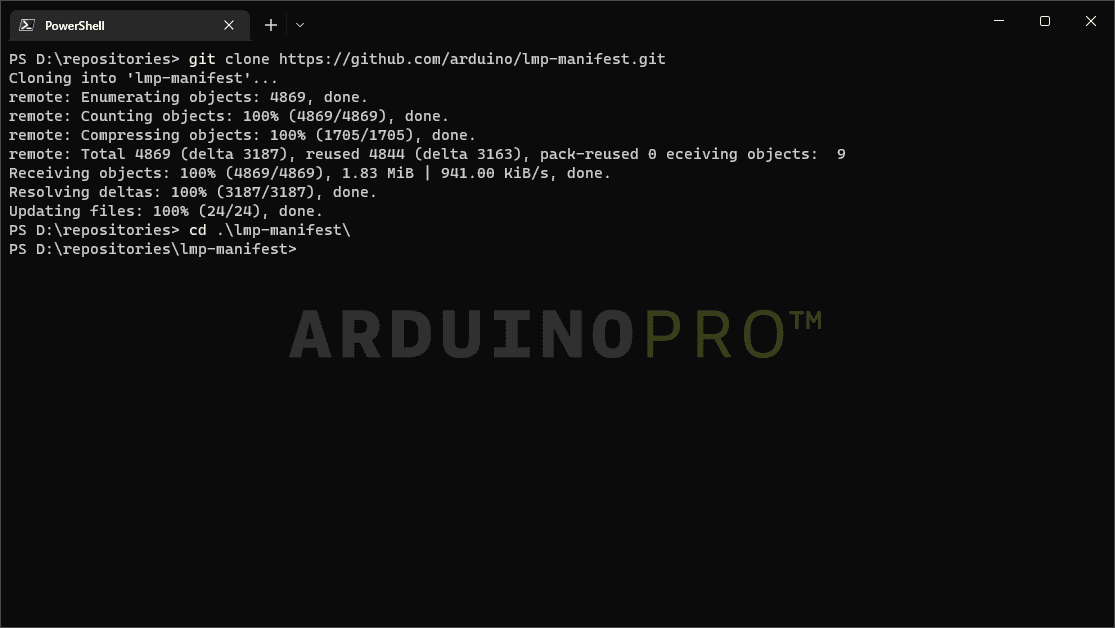
After cloning the lmp-manifest repository successfully, we will proceed to build the Docker Image using following command sequence:
1cd lmp-manifest1docker build -t yocto-build ./lmp-manifest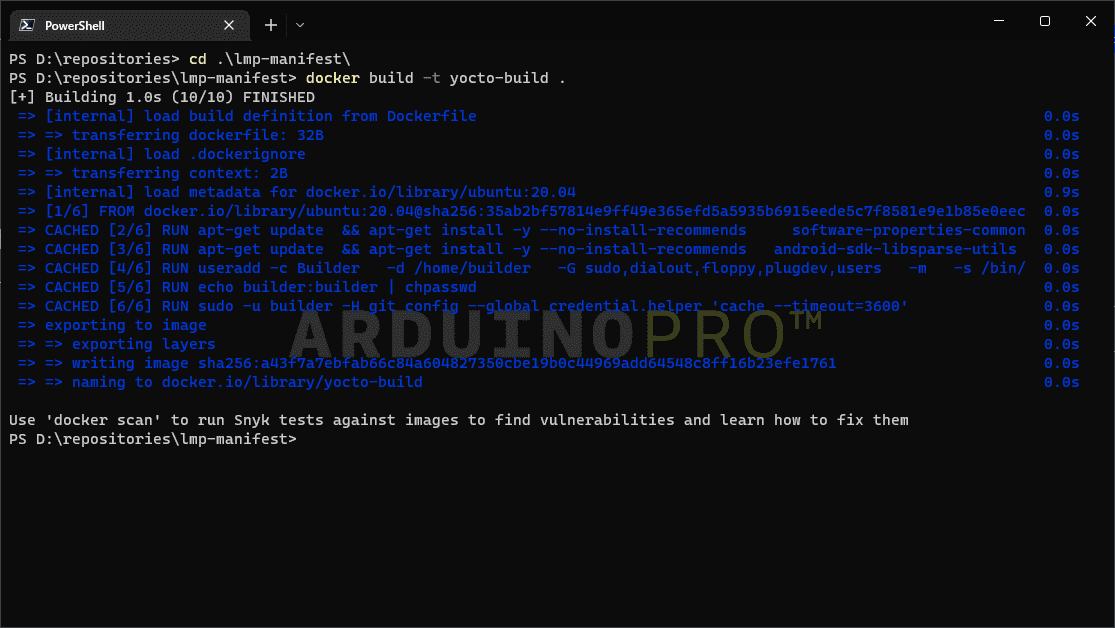
You will be able to see similar result if everything went successfully.
Run The Docker Image (Builder)
Once the Docker Image is ready, we will run the image with the
-vIf you do not use a volume while running the image, you will lose the data when the image stops
Run the
yocto-build1docker run -v <source>:/dockerVolume -it yocto-build bashWe need to switch to the
builder1su builderImage Setup and Build
You can download a bash script that wraps all the upcoming steps.
Setup the Environment
Now that you are running inside the Docker Image, you can use tools like git-repo, which is already installed.
First, configure git with your credentials. They don't need to be the real ones but are required by
git-repo1git config --global user.email "you@example.com"2git config --global user.name "Your Name"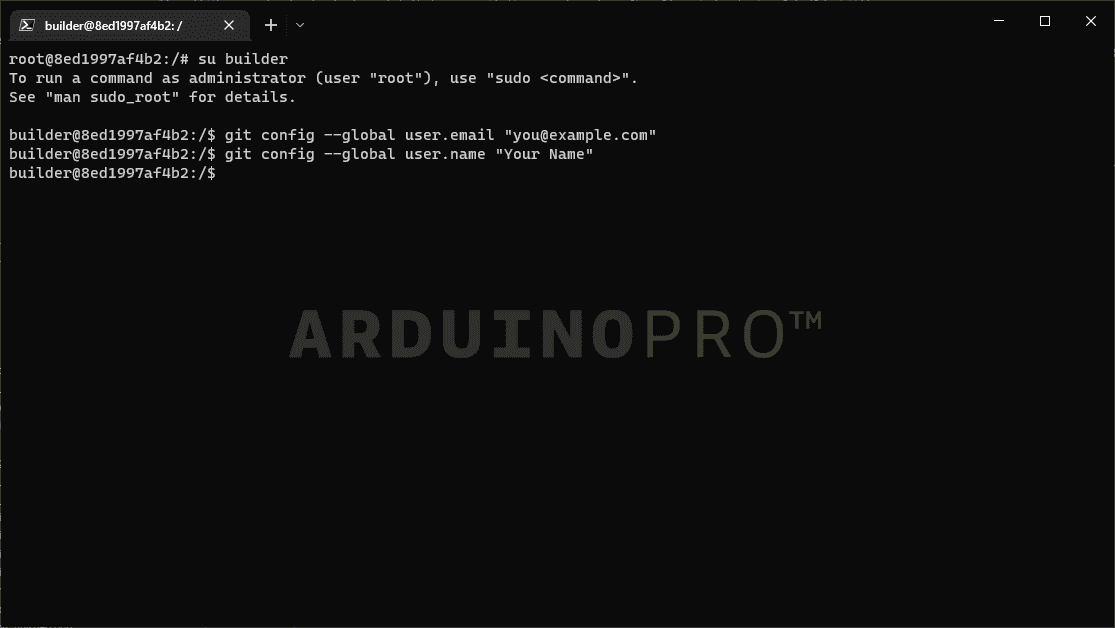
Change to the home directory, and initialize the repository using repo:
1cd /dockerVolume2repo init -u https://github.com/arduino/lmp-manifest.git -m arduino.xml -b release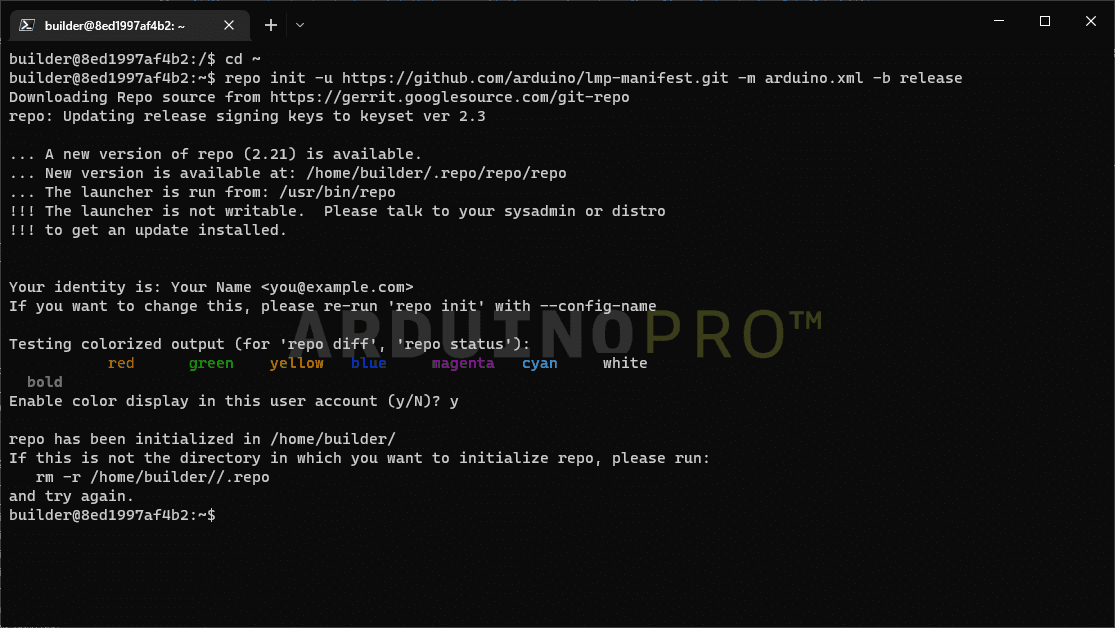
Then pull the needed files with:
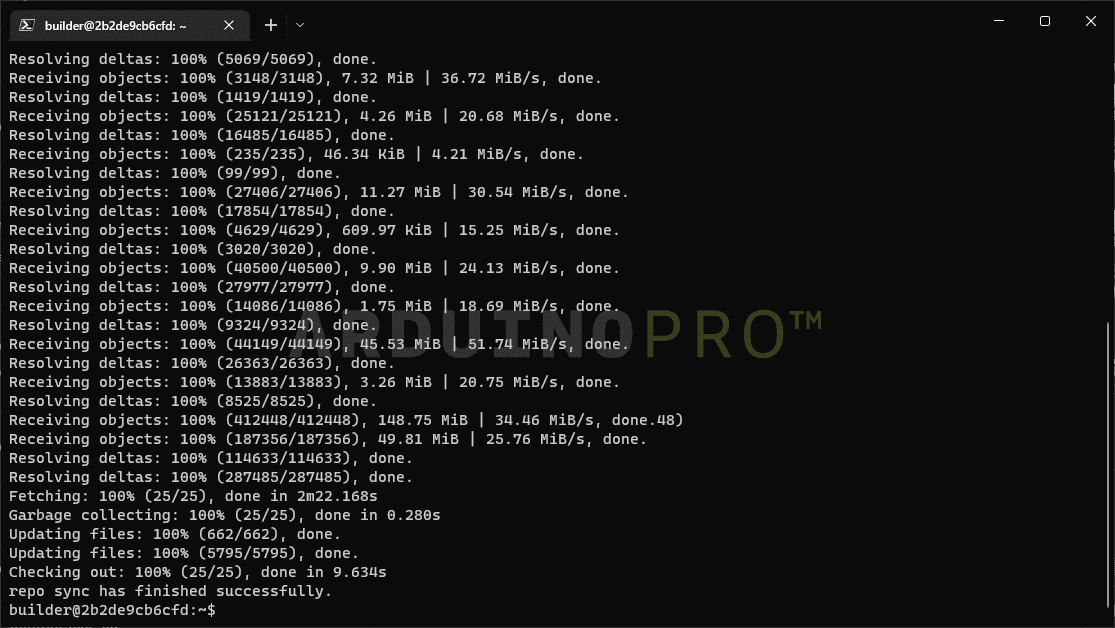
1repo sync
After completion, it should look like the following image:
NOTE: If you are a FoundriesFactory subscriber and want to build your Factory sources locally, please use the manifest link for your Factory as below. This is not recommended as images built locally cannot register to the Factory and receive OTAs.
Set Up the Portenta X8 Distribution
It is recommendable to set
DISTRO
: insecure image without ostree, developer-friendly, not OTA compatiblelmp-base
: secure image without xwaylandlmp
: secure image with xwayland supportlmp-xwayland
It will help to classify the image if it follows any of the previous characteristics and with the following command:
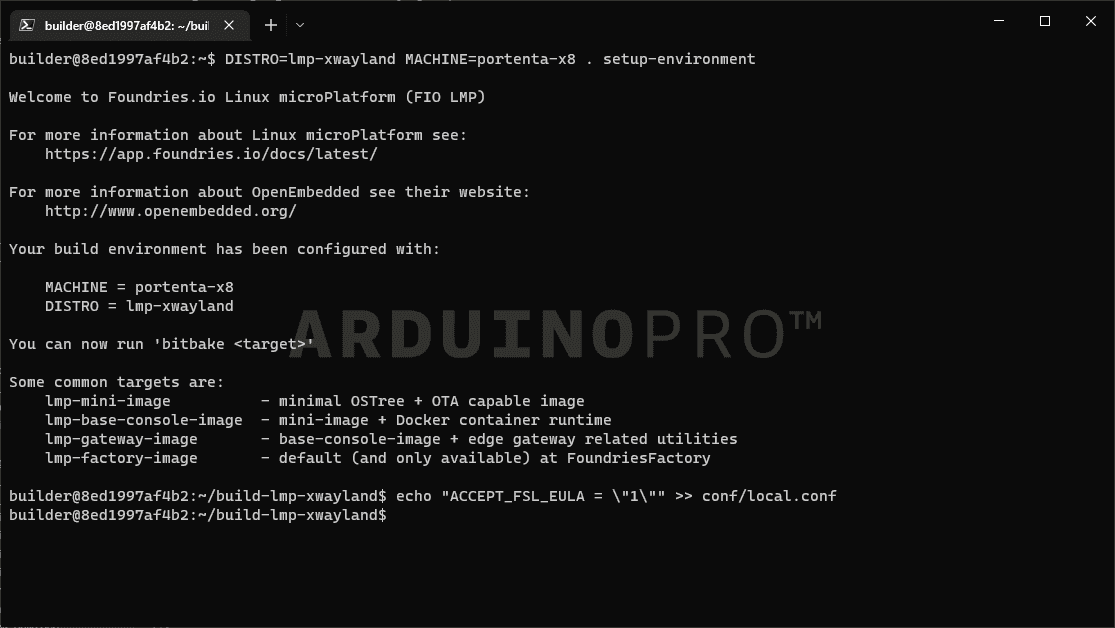
1DISTRO=lmp-xwayland MACHINE=portenta-x8 . setup-environment
will be better supported soon.lmp-partner-arduino-image
It will then switch automatically to a new folder. Continuing, you can now proceed to accept the EULA using the following command:
1echo "ACCEPT_FSL_EULA = \"1\"" >> conf/local.confYou will be able to see similar output as following after the previous steps:
Build an Image With Bitbake
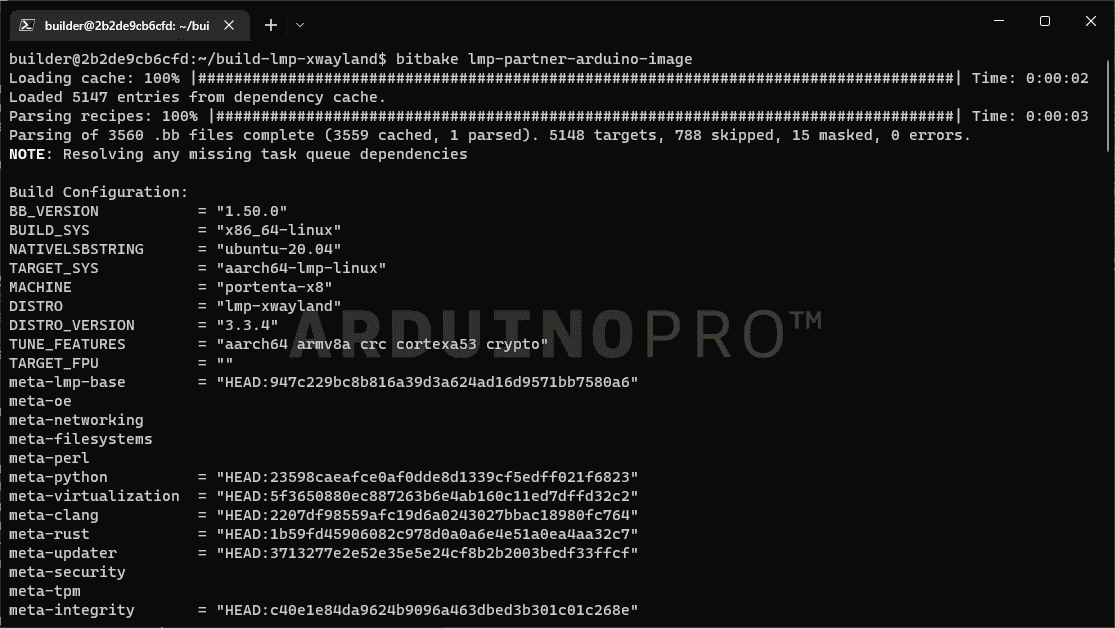
To start building the image, following command is used:
1bitbake lmp-partner-arduino-imageThis process may take ~7 hours depending on the build host
If you want to use your computer while it builds, it is recommendable to lower the threads used since it takes a lot of resources and time. Do so by opening
conf/local.confBB_NUMBER_PARSE_THREADS = "4"BB_NUMBER_THREADS = "4"
And add:
PARALLEL_MAKE = "-j 4"
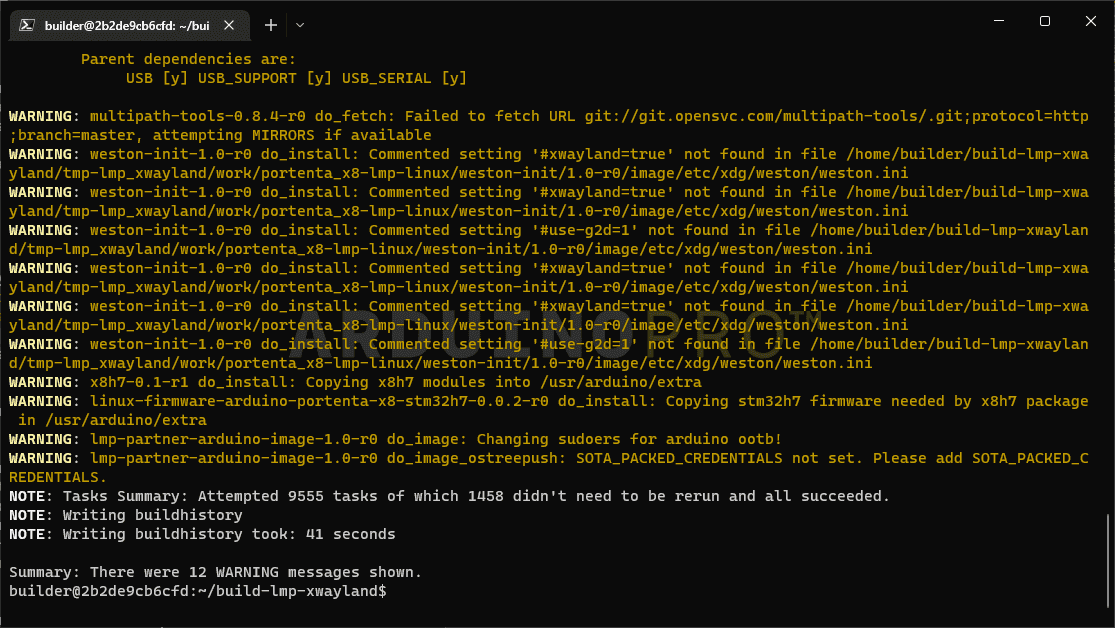
If possible, it is a good practice to understand the available threads of your computer used for this process, to optimize the resources accordingly for optimal balance between build performance and side tasks while waiting for the build. Once it finishes you will see something similar to:
Setup Manufacturing Tools
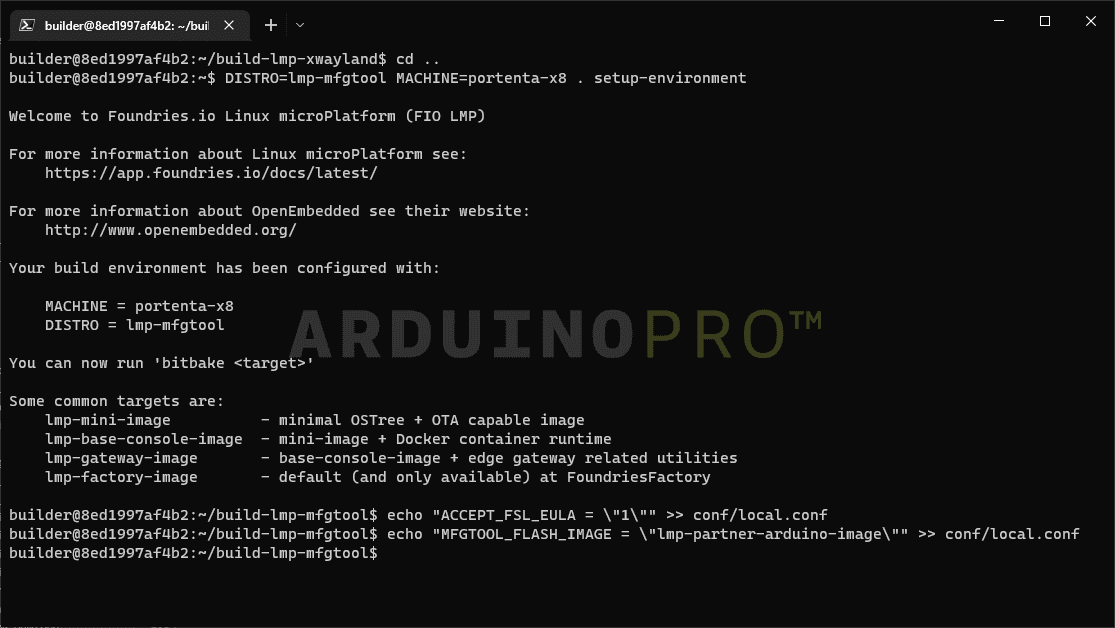
To flash your board, you will need to compile lmp-mfgtool distro to get additional tools. First, go into your home folder and change
DISTRO1cd ..2DISTRO=lmp-mfgtool MACHINE=portenta-x8 . setup-environment3echo "ACCEPT_FSL_EULA = \"1\"" >> conf/local.conf4echo "MFGTOOL_FLASH_IMAGE = \"lmp-partner-arduino-image\"" >> conf/local.confYou should be able to see similar results as following image when successful:
Build Manufacturing Tools: Flash The Board
To compile and get the tools required, we will use following command:
1bitbake mfgtool-files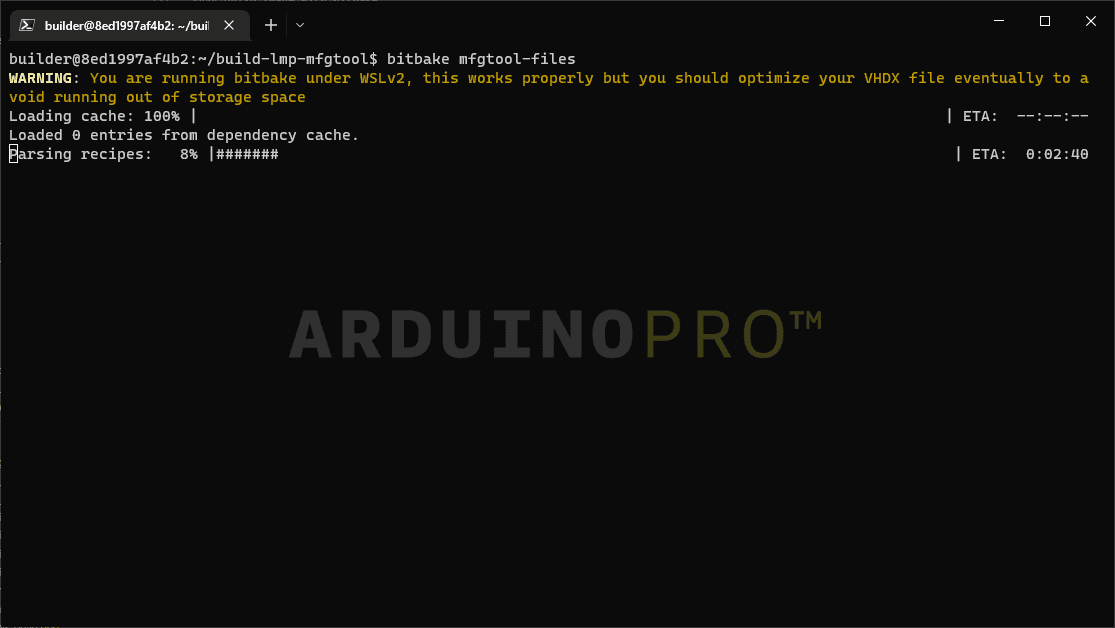
After completion:
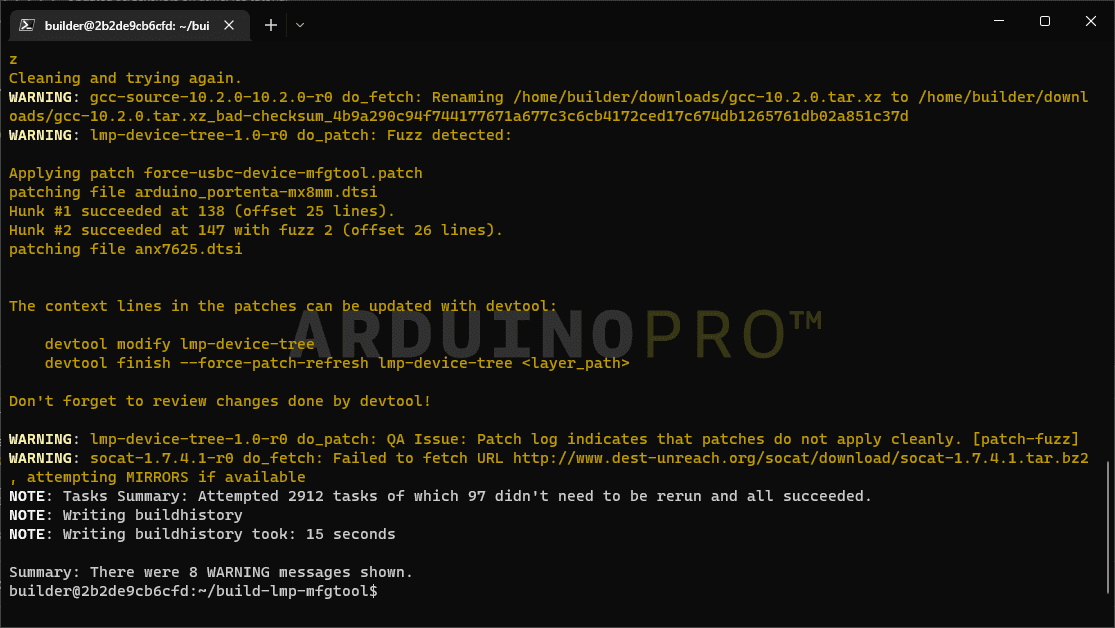
This process may take ~2 hours depending on your build host
Save Your Image For Flashing
After a successful build, save the needed files to the host volume you mounted with
docker run1cd ..2mkdir ../../dockerVolume/flashing3DEPLOY_FOLDER=../../dockerVolume/flashing4
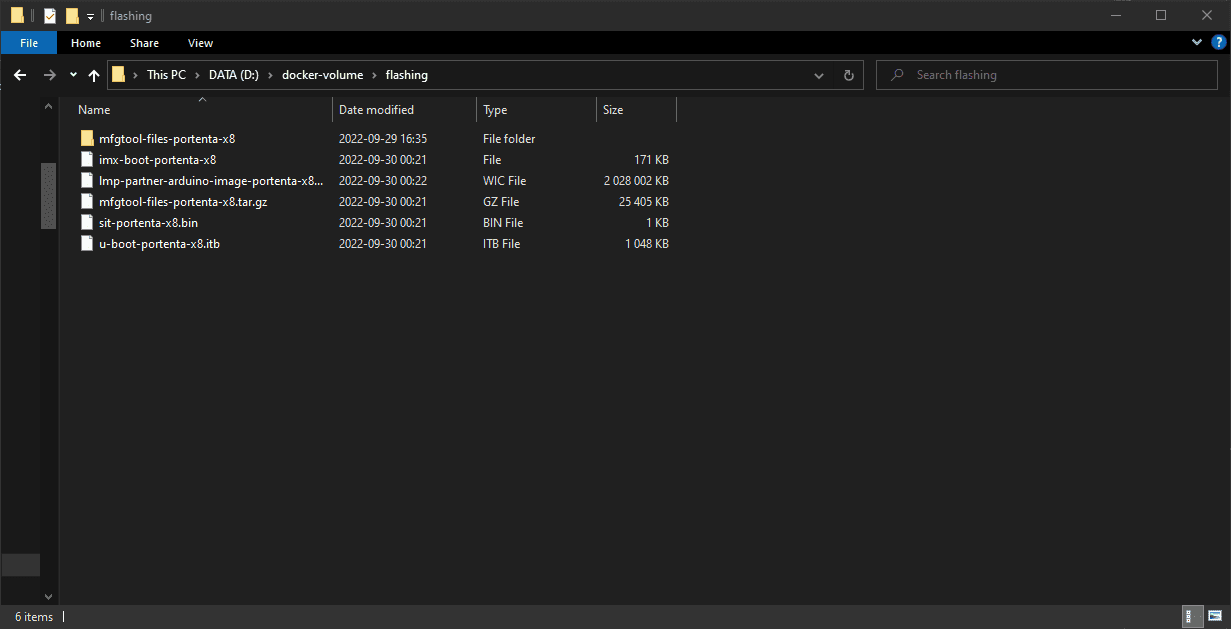
5cp -L build-lmp-mfgtool/deploy/images/portenta-x8/mfgtool-files-portenta-x8.tar.gz $DEPLOY_FOLDER6cp -L build-lmp-xwayland/deploy/images/portenta-x8/imx-boot-portenta-x8 $DEPLOY_FOLDER7cp -L build-lmp-xwayland/deploy/images/portenta-x8/u-boot-portenta-x8.itb $DEPLOY_FOLDER8cp -L build-lmp-xwayland/deploy/images/portenta-x8/sit-portenta-x8.bin $DEPLOY_FOLDER9cp -L build-lmp-xwayland/deploy/images/portenta-x8/lmp-partner-arduino-image-portenta-x8.wic $DEPLOY_FOLDER10
11cd $DEPLOY_FOLDER12tar xvf mfgtool-files-portenta-x8.tar.gz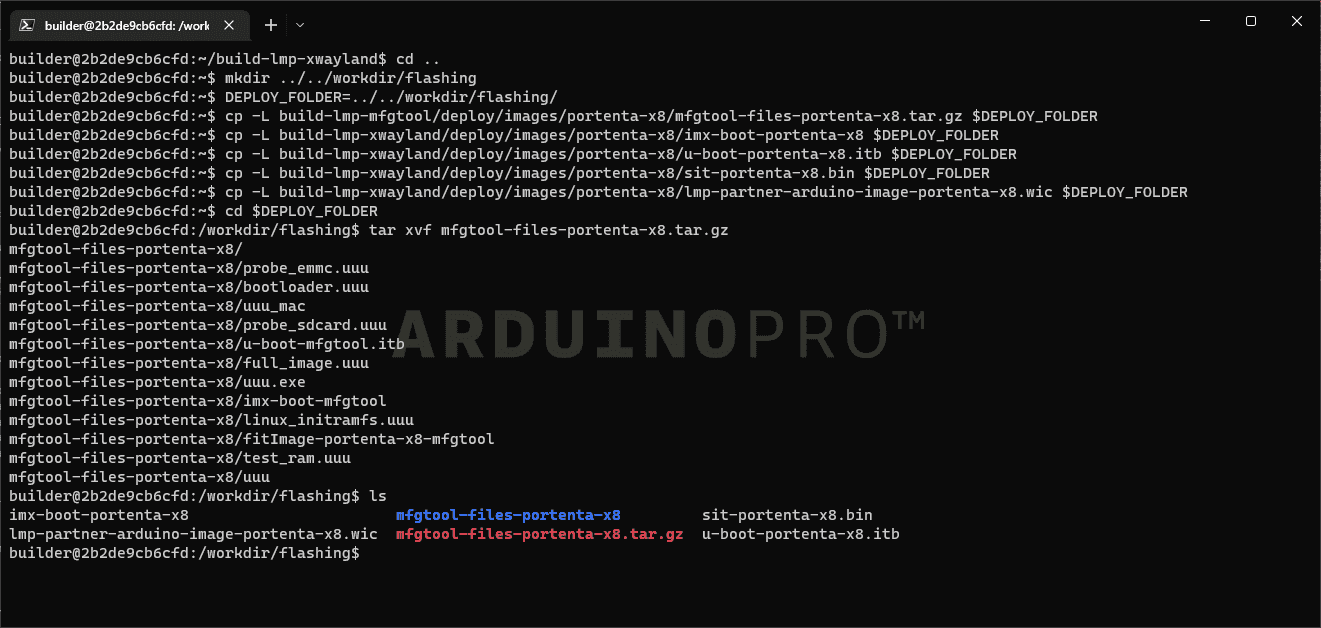
You will be able to see the copied files in your OS file explorer.
Conclusion
In this tutorial, you have learned how to build a "builder" Docker image, get its required files, configure the build settings, build the image,a and to save the needed files for flashing. Now you have all the required files to flash the image you built onto the device.
Next Steps
Please follow the Flashing tutorial to flash your device with your custom image. You can use the files provided from this build to flash the Portenta X8 following the tutorial's steps.
Troubleshooting
- If you are having
issues, try to check your system's and virtual machine's DNS settings.do_fetch
Suggest changes
The content on docs.arduino.cc is facilitated through a public GitHub repository. If you see anything wrong, you can edit this page here.
License
The Arduino documentation is licensed under the Creative Commons Attribution-Share Alike 4.0 license.